
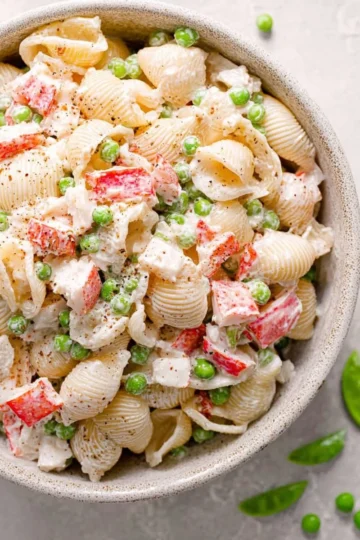
Tuna pasta salad is a classic dish that brings comfort and satisfaction in every bite. I still remember the first time I made this dish for a picnic. I was nervous about my cooking skills, but seeing everyone enjoy it gave me a wave of confidence. This recipe is easy to prepare and perfect for gatherings, lunch boxes, or a simple dinner.
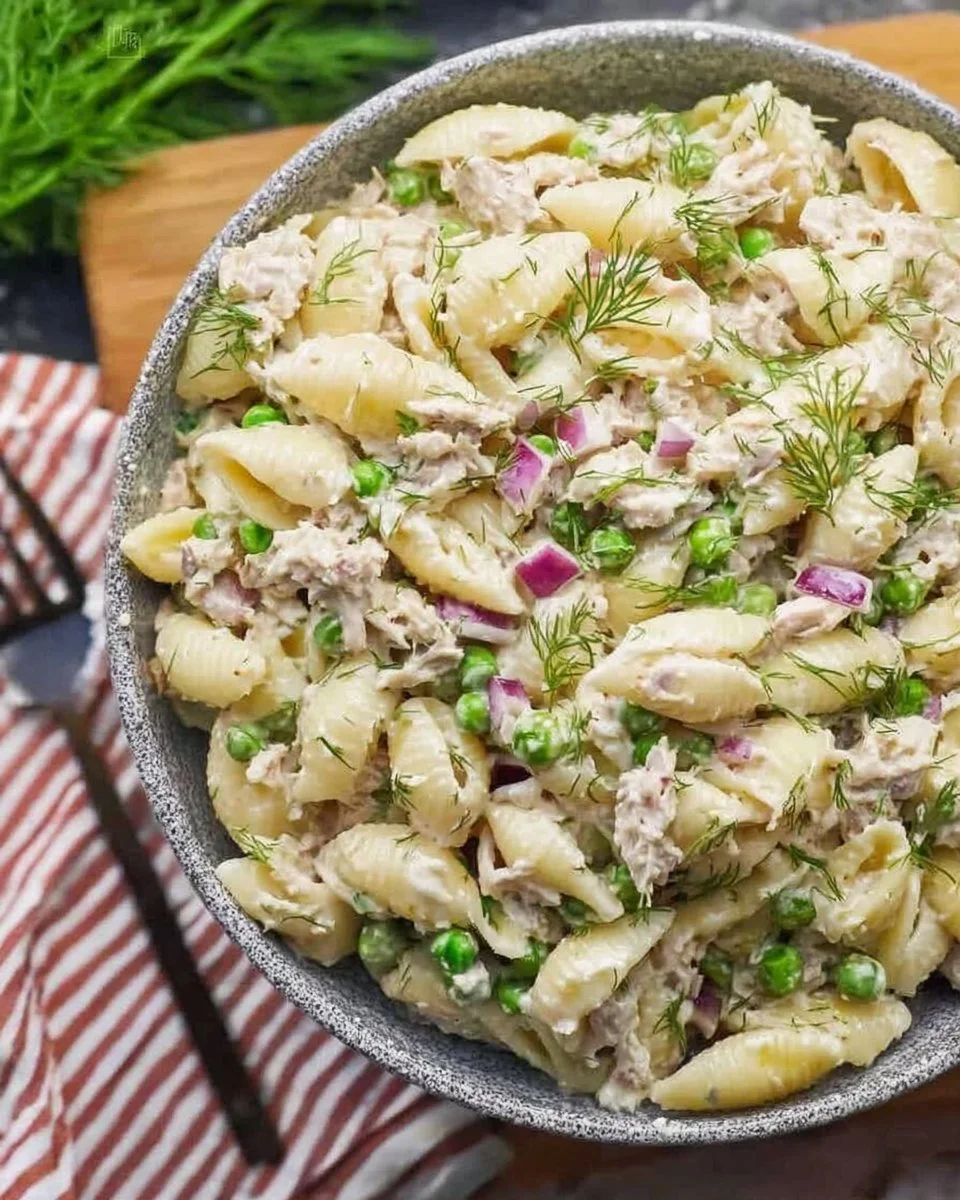
You will love how quick and nutritious this tuna pasta salad is. It combines tender pasta, flaky tuna, and crisp vegetables, all coated in a creamy dressing. In under 30 minutes, you can whip up a delicious meal that never disappoints.
Jump to:
Why You’ll Love This Recipe
- Quick and Easy: This tuna pasta salad takes just 30 minutes to make, making it perfect for busy weeknights or last-minute gatherings.
- Nutritious Ingredients: Packed with protein from the tuna and fiber from the veggies, this salad is both wholesome and satisfying.
- Versatile Dish: Customize it to your taste by adding different vegetables or herbs, making it a great go-to recipe.
- Great for Meal Prep: It stores well in the fridge, so you can make it ahead and enjoy it throughout the week.
- Kid-Friendly Flavor: The creamy dressing and mild flavors appeal to both kids and adults, making it a family favorite.
Ingredients You'll Need
- Medium shells – 1 pound. These pasta shapes hold the dressing well for a satisfying bite.
- Tuna – 12 ounces, drained. Provides protein and a rich flavor to the salad.
- Frozen peas – 1 cup. Add a pop of color and a touch of sweetness.
- Celery – 2 stalks, diced. Brings a crunch and freshness to the mix.
- Red onion – ½ small, diced. Adds a mild kick and vibrant color.
- Light mayonnaise – 1 cup. Creates a creamy base for the dressing.
- Plain yogurt – ¼ cup. Balances the mayonnaise and adds a tangy flavor.
- Lemon juice – 1 teaspoon. Brightens the dish and enhances the overall flavor.
- Fresh dill – 1 tablespoon. Provides a fragrant touch that complements the tuna.
- Dry dill – 1 teaspoon. Enhances the herbal notes in the recipe.
- Salt – 1 teaspoon. Elevates the flavors of all the ingredients.
- Black pepper – ¼ teaspoon. Adds a hint of spice to the dish.
How to Make Tuna Pasta Salad
Step 1: Cook the Pasta
Cook the shells according to the package instructions, being careful not to overcook. Once done, drain and rinse the pasta with cold water to stop the cooking process. This will help keep the pasta firm and prevent it from getting mushy.
Step 2: Prepare the Dressing
In a small bowl, whisk together the mayonnaise, yogurt, lemon juice, dill, salt, and pepper. Make sure everything is well combined for a smooth dressing that will coat the salad nicely.
Step 3: Combine the Ingredients
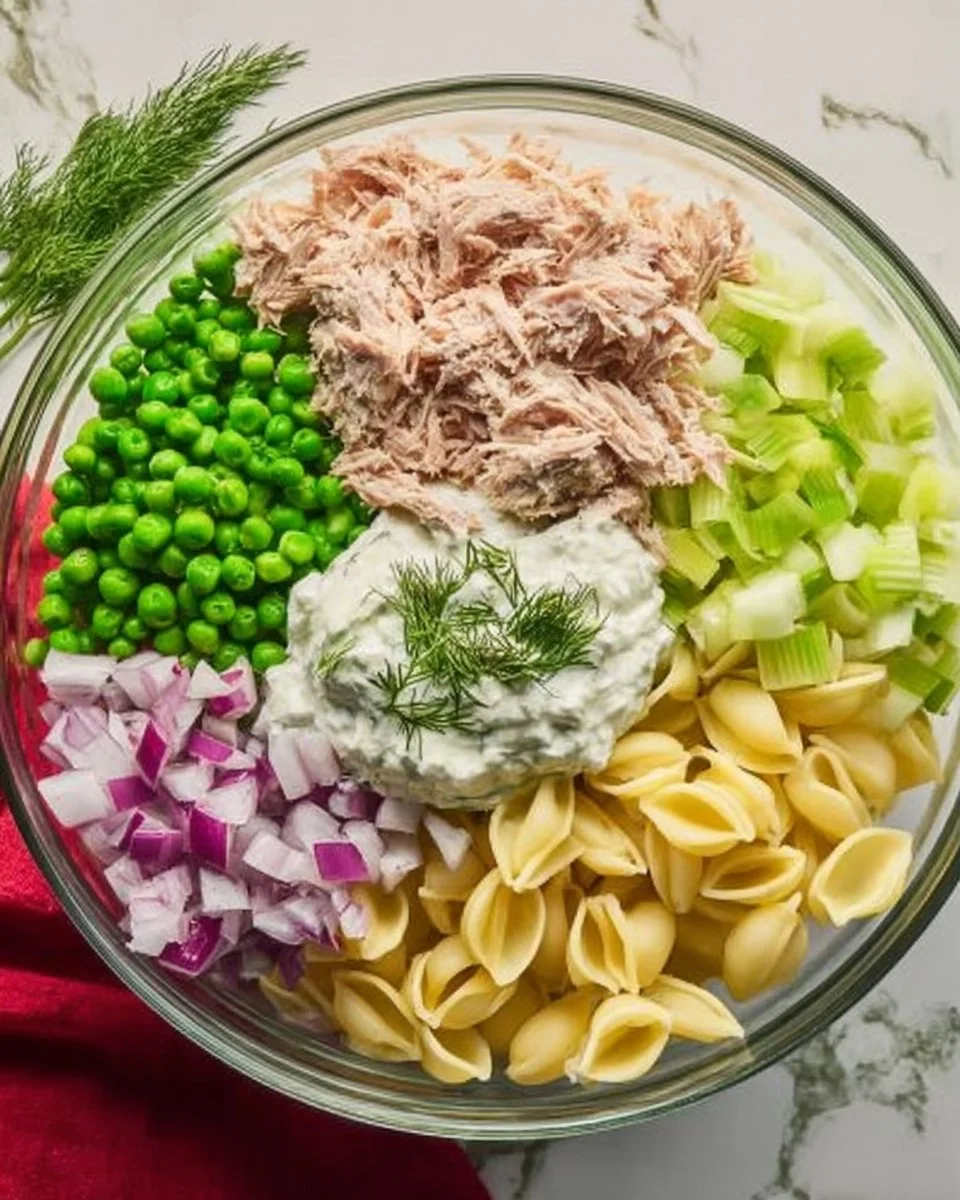
In a large bowl, combine the cooked noodles, drained tuna, peas, diced celery, and onion. Mix carefully to avoid breaking the pasta or tuna. Ensure even distribution of all ingredients.
Step 4: Toss Salad with Dressing
Pour the dressing over the pasta salad mixture. Toss gently until everything is well coated, making sure the dressing is evenly distributed throughout. This will enhance the flavors in every bite.
Pro Tips from My Kitchen
✓ Use Cold Pasta – Rinsing the cooked pasta with cold water not only stops the cooking process but also helps it stay firm and prevents sticking together.
✓ Fresh Ingredients Matter – Opt for fresh herbs instead of dried for a more vibrant flavor. Fresh dill makes a noticeable difference in taste and aroma.
✓ Customize with Vegetables – Feel free to mix in other vegetables like bell peppers or carrots for added crunch and nutrition. Just chop them small for even distribution.
✓ Store Properly – Keep leftover tuna pasta salad in an airtight container in the fridge. It stays fresh for up to three days, making it perfect for meal prep.
✓ Avoid Overmixing – Gently toss the salad with the dressing to avoid breaking apart the pasta or other delicate ingredients, keeping everything intact and appealing.
Serving Ideas and Variations
- For a heartier meal, serve the tuna pasta salad on a bed of fresh greens like spinach or arugula.
- Add some cherry tomatoes for a burst of flavor and color; their sweetness pairs well with the creamy dressing.
- Mix in avocado for a creamy texture and added richness; it's a great way to elevate the salad.
- For a touch of crunch, consider topping with crushed tortilla chips or toasted nuts, adding a delightful texture contrast.
Frequently Asked Questions About Tuna Pasta Salad
Yes, you can substitute other pasta shapes like rotini or penne. Just make sure to follow the package instructions for cooking times.
Store any leftover tuna pasta salad in an airtight container in the refrigerator. It will stay fresh for up to three days, but be sure to give it a stir before serving again.
Absolutely! You can prepare the salad a few hours ahead of time. Just make sure to store it in the refrigerator until you're ready to serve. The flavors often improve as it sits.
If the pasta becomes sticky, try rinsing it thoroughly in cold water right after cooking. This prevents clumping and ensures a smoother salad.
This salad pairs well with crusty bread, fresh fruit, or a light soup for a complete meal. Consider serving it alongside a crisp green salad for extra freshness.
Tuna Pasta Salad Recipe
Ingredients
- 1 pound Medium shells
- 12 ounces Tuna, drained
- 1 cup Frozen peas
- 2 stalks Celery, diced
- ½ small Red onion, diced
- 1 cup Light mayonnaise
- ¼ cup Plain yogurt
- 1 teaspoon Lemon juice
- 1 tablespoon Fresh dill
- 1 teaspoon Dry dill
- 1 teaspoon Salt
- ¼ teaspoon Black pepper
Instructions
- Cook the shells according to the package instructions, being careful not to overcook. Once done, drain and rinse the pasta with cold water to stop the cooking process.
- In a small bowl, whisk together the mayonnaise, yogurt, lemon juice, dill, salt, and pepper until well combined for a smooth dressing.
- In a large bowl, combine the cooked noodles, drained tuna, peas, diced celery, and onion. Mix carefully to avoid breaking the pasta or tuna.
- Pour the dressing over the pasta salad mixture and toss gently until everything is well coated.
Notes
- Use fresh herbs for a more vibrant flavor, and customize with vegetables like bell peppers or carrots for added nutrition.
- Store leftovers in an airtight container in the fridge for up to three days.
Leave a Reply