
If you’ve ever wanted to create your own kimchi, you’re in the right place. When I first attempted this, the thought of fermenting anything, let alone cabbage, seemed daunting. However, once I dived into the process, it quickly became an integral part of my culinary routine. There's something deeply rewarding about crafting your own batch of kimchi, a staple that brings rich umami, spice, and tang to the table.
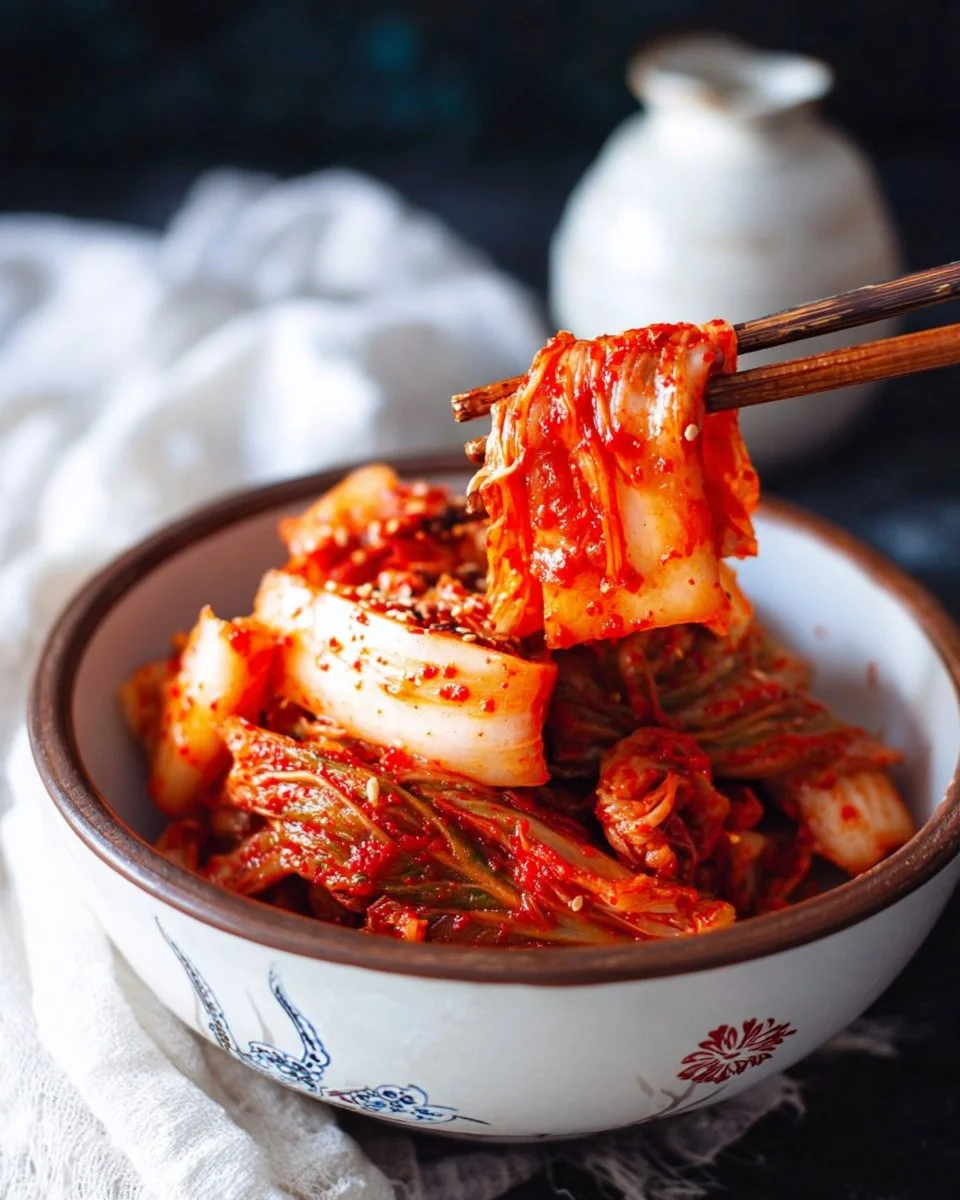
Kimchi not only provides the satisfaction of creating something from scratch but also allows you to customize flavors to suit your personal taste. With just a few simple ingredients, you can enjoy a refreshing burst of authentic Korean flair right from your fridge. Ready to try your hand at it? Let’s get started!
Jump to:
Why You’ll Love This Recipe
- Simple Ingredients: With just a handful of ingredients, making homemade kimchi is straightforward and cost-effective.
- Customizable Flavor: Adjust the spice level and seasoning to match your taste preferences for a personalized touch.
- Probiotic-Rich: Enjoy the health benefits of probiotics that result from the fermentation process, promoting gut health.
- Long Shelf Life: Once prepared, this kimchi stores well in the fridge and continues to develop flavor over time.
- Versatile Use: Use it as a side, condiment, or ingredient in a variety of dishes for an extra punch of flavor.
Ingredients You'll Need
- Napa Cabbage – 5 pounds (2268 g). Provides the base for the kimchi, adding crunch and volume.
- Sea Salt – ½ cup (146 g). Essential for drawing out moisture and beginning the fermentation process.
- Water – 1 cup (236 ml). Used to dissolve the salt and create a brining solution.
- Sweet Onion – ½ medium. Adds subtle sweetness and depth to the spice paste.
- Garlic – 1 bulb, peeled. Intensifies the flavor and complexity of the kimchi.
- Water – ¼ cup (59 ml). Aids in blending the onion and garlic into a smooth paste.
- Green Onions – 1 bundle, julienned. Contributes fresh, aromatic notes and texture contrasts.
- Red Pepper Powder – ½ cup (118 g). Offers heat and vibrant color, crucial for authentic taste.
How to Make Kimchi
Step 1: Prep the Cabbage
Place cabbage in a very large bowl. Mix together sea salt and water until the salt has dissolved. Pour over the cabbage and mix thoroughly with your hands. Let it sit for 1.5-2 hours.
Step 2: Make the Spice Paste
Blend the onion and garlic with ¼ cup of water to create a puree. Pour this into a medium bowl and mix it with red pepper powder and green onions until evenly combined.
Step 3: Rinse and Mix
Once the cabbage has wilted, rinse it to remove most of the salt water. Return the cabbage to the bowl and toss it with the seasoning mixture until well-coated.
Step 4: Jar the Kimchi
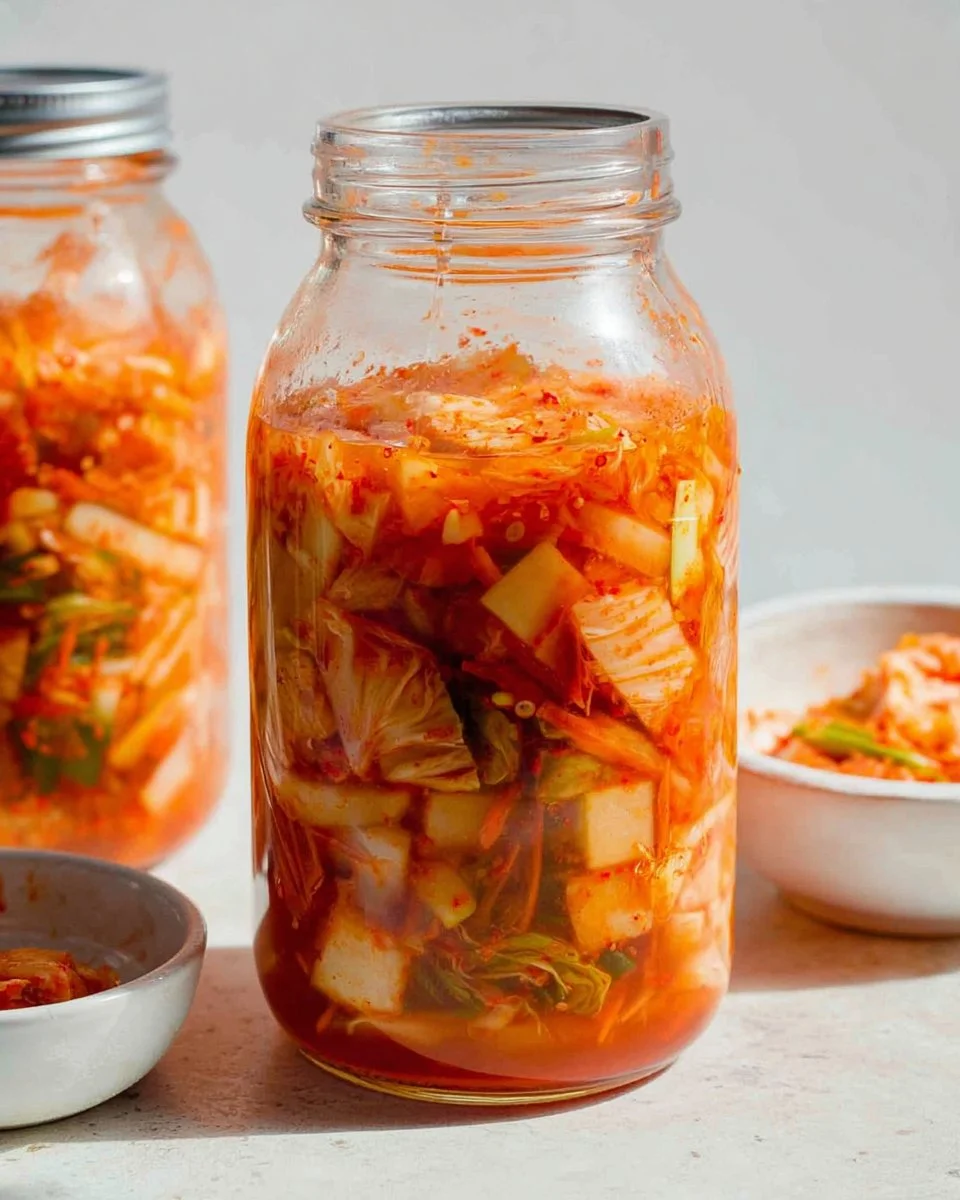
Place the seasoned kimchi into a large mason jar, pressing down to compress it. Ensure the jar is filled completely, and use another jar if needed.
Step 5: Ferment Overnight
Tightly close the lid and leave the jar out at room temperature overnight to start the fermentation process.
Step 6: Taste and Store
Taste the kimchi the next day. For a more sour flavor, leave it out for another day. Otherwise, refrigerate it. The kimchi can last for a long time in the fridge.
Pro Tips from My Kitchen
✓ Cabbage Care – Massage the cabbage well with salt to ensure even moisture removal, which helps it soften evenly for fermentation.
✓ Spice Adjustment – If you’re unsure about the heat level, start with less red pepper powder and adjust after tasting your first batch.
✓ Storage Tip – Always leave some space at the top of the jar for expansion as the kimchi ferments to prevent overflow.
✓ Airtight Seal – Ensure the lid is tightly closed, as exposure to too much air can spoil the kimchi.
✓ Maximizing Flavor – Let the kimchi sit at room temperature for at least two days if you desire a stronger, more fermented taste.
Serving Ideas and Variations
- Serve kimchi alongside rice and grilled meats for a traditional Korean meal experience, adding flair and flavor.
- Chop and add it to stir-fries or fried rice for a tangy, spicy kick that elevates the dish with ease.
- Try a different kick by adding grated ginger to the spice paste for an aromatic twist on the classic flavor profile.
- For a vegetarian option, omit fish sauce or shrimp paste if used, and explore adding other vegetables like carrots or radishes.
Frequently Asked Questions About Kimchi
Yes, you can use green or savoy cabbage as a substitute, though textures and flavors might vary slightly. Ensure the cabbage you choose is fresh and firm for the best results.
For a mild flavor, overnight fermentation is usually sufficient. However, if you prefer more acidity, allowing the kimchi to sit at room temperature for up to 2-3 days will intensify its sourness.
Store kimchi in the refrigerator once it has reached your desired taste. It can last several months, becoming more pungent over time, but remains edible and often improves in flavor.
Rinse the cabbage thoroughly before mixing it with the seasoning. If it's already fermented, balance it with sweeter ingredients like pears or apples added in subsequent batches.
Kimchi is versatile and can be used as a standalone side dish or an ingredient in stews, scrambled eggs, and sandwiches. It adds a delicious layer of flavor to many dishes.

Homemade Kimchi Recipe
Ingredients
- 5 pounds Napa Cabbage
- 1 medium Sweet Onion
- 1 bulb Garlic, peeled
- 1 bunch Green Onions, julienned
- ½ cup Sea Salt
- 1 cup Water
- ¼ cup Water
- ½ cup Red Pepper Powder
Instructions
- Place cabbage in a very large bowl. Mix together sea salt and water until the salt has dissolved. Pour over the cabbage and mix thoroughly with your hands. Let it sit for 1.5-2 hours.
- Blend the onion and garlic with ¼ cup of water to create a puree. Pour this into a medium bowl and mix it with red pepper powder and green onions until evenly combined.
- Once the cabbage has wilted, rinse it to remove most of the salt water. Return the cabbage to the bowl and toss it with the seasoning mixture until well-coated.
- Place the seasoned kimchi into a large mason jar, pressing down to compress it. Ensure the jar is filled completely, and use another jar if needed.
- Tightly close the lid and leave the jar out at room temperature overnight to start the fermentation process.
- Taste the kimchi the next day. For a more sour flavor, leave it out for another day. Otherwise, refrigerate it.
Notes
- Massage the cabbage well with salt to ensure even moisture removal.
- Start with less red pepper powder and adjust after tasting.
- Always leave space at the top of the jar for expansion as the kimchi ferments.
- Ensure the lid is tightly sealed to prevent spoilage.
- For stronger flavor, let the kimchi sit at room temperature for at least two days.



Leave a Reply